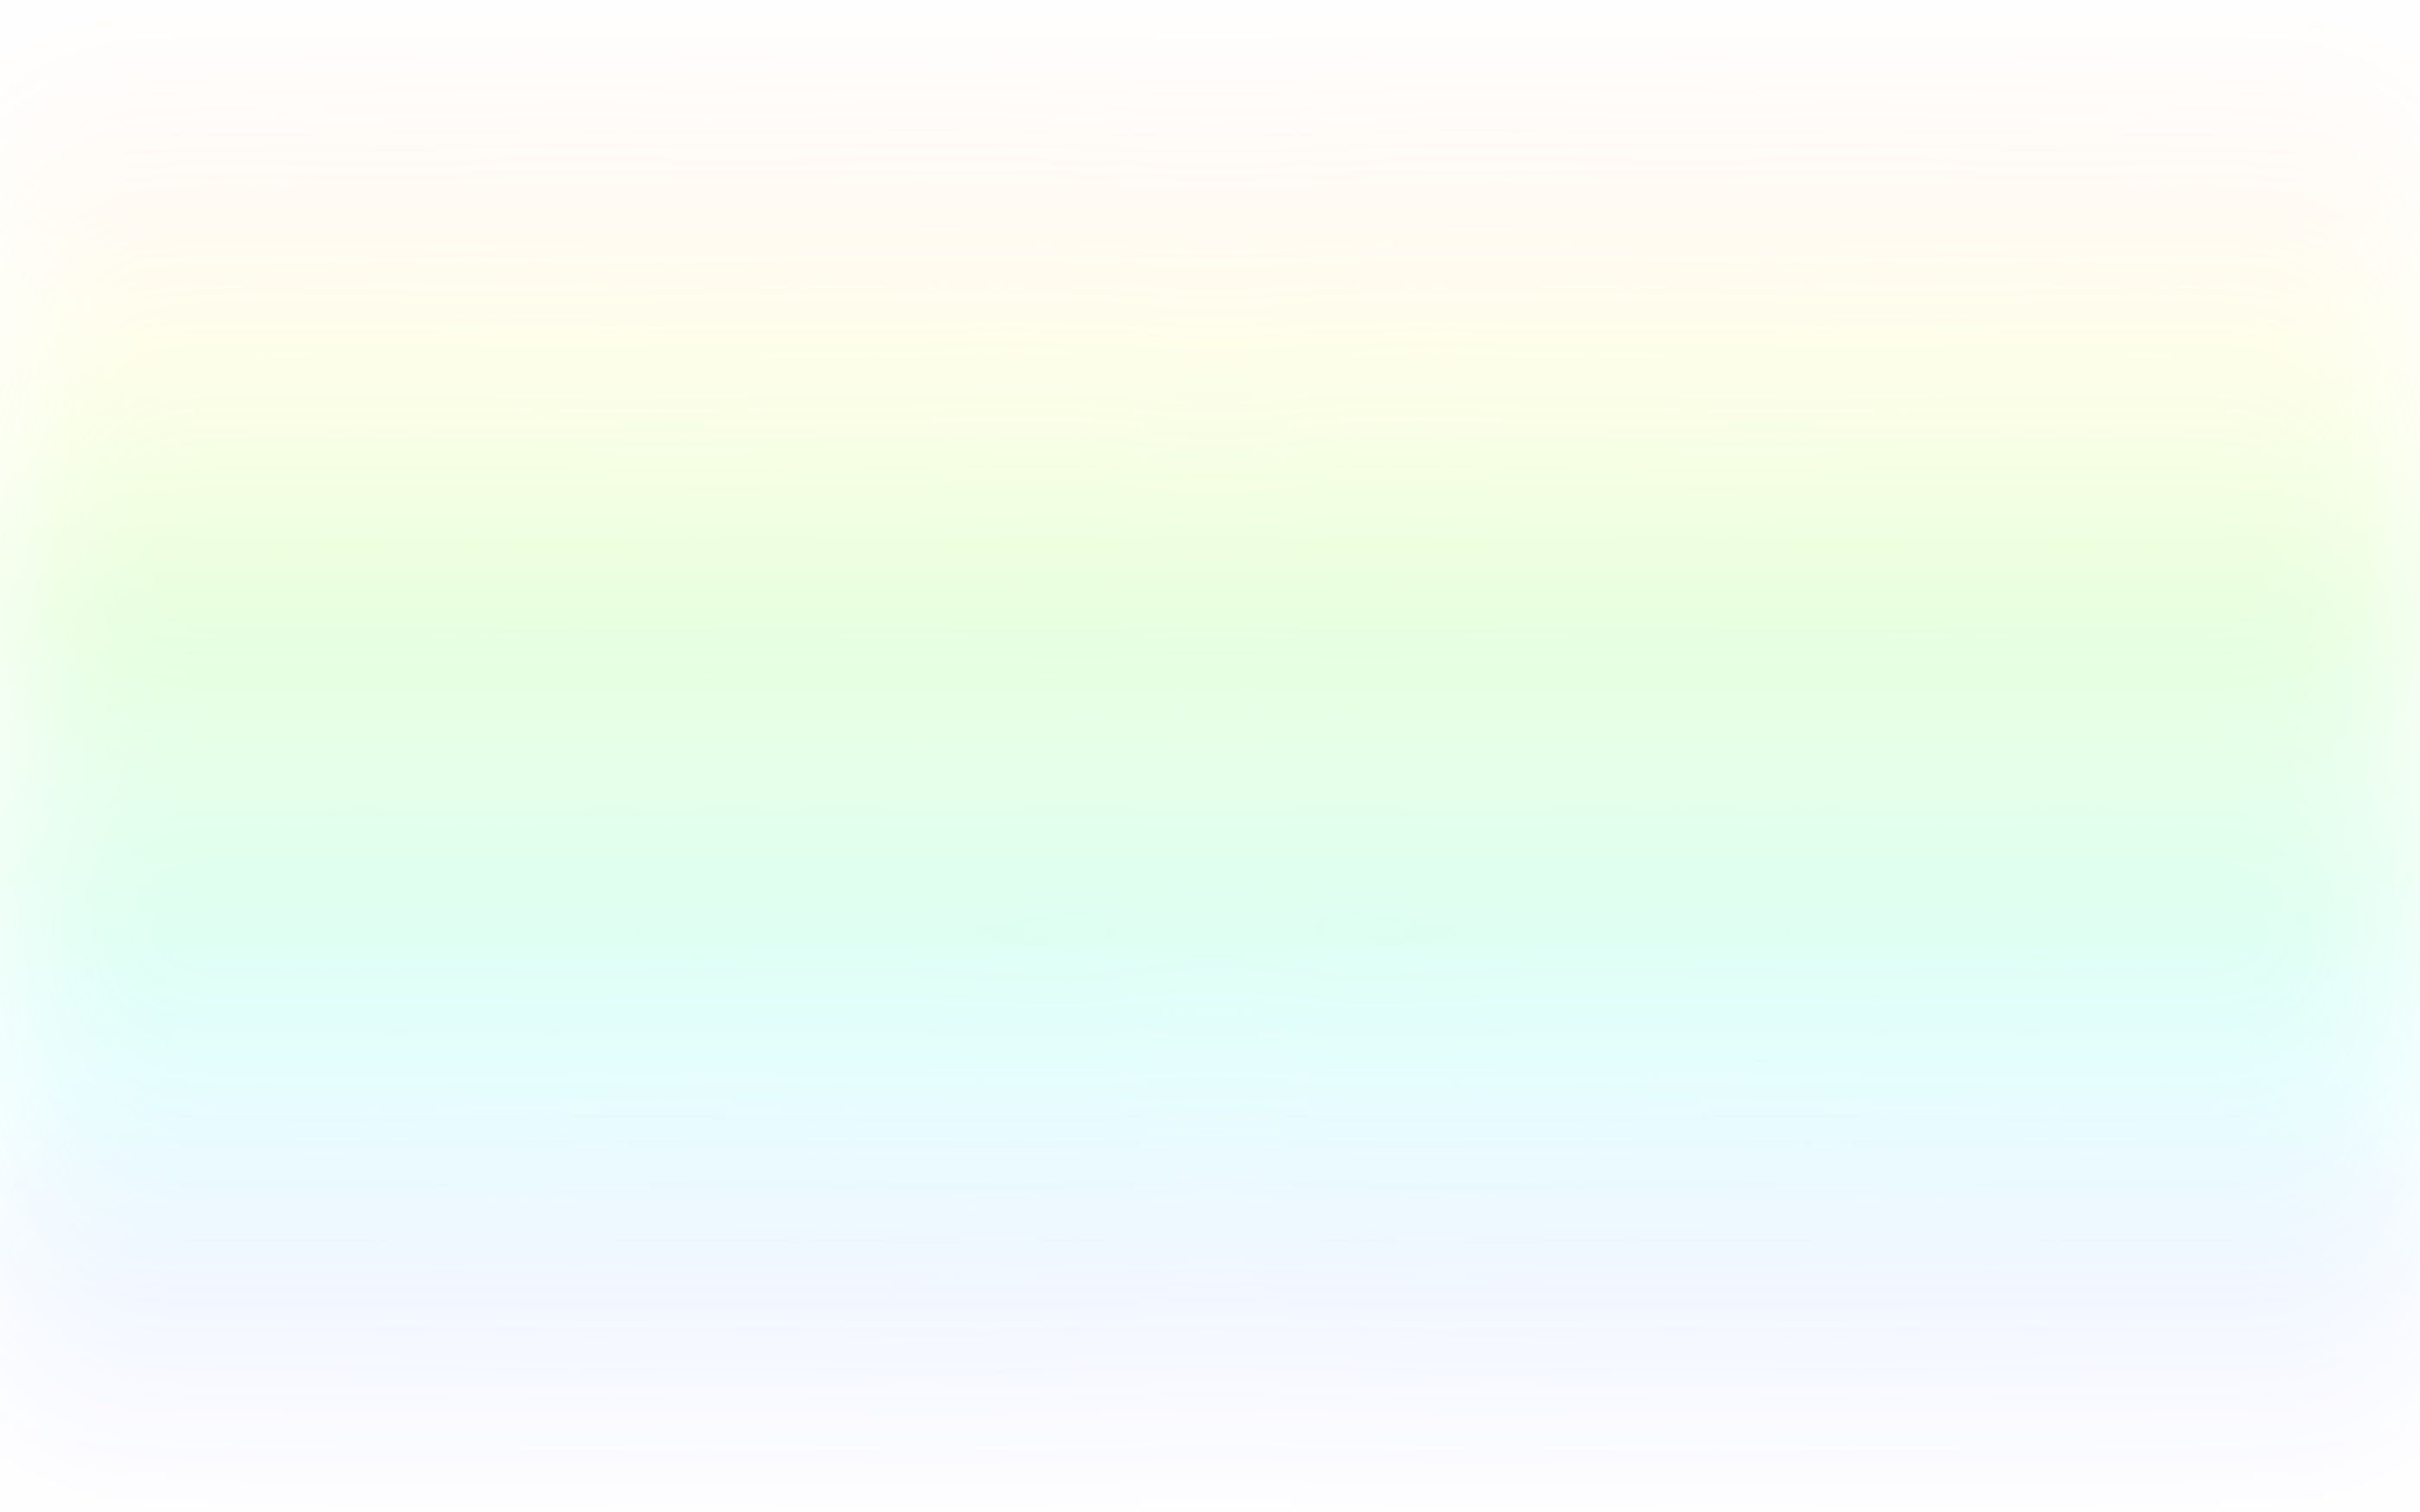
JavaScript 代码主要来自注释中两条 Twitter 的内容,更多的 Pattern 也可以在里面找到,可以通过我制作的 https://io-oi.me/cool-alien-art/ 在线尝试一下。
const root = document.documentElement;
const canvas = document.createElement('canvas');

function draw() {
  const width = (canvas.width = window.innerWidth);
  const height = (canvas.height = window.innerHeight);

  const ctx = canvas.getContext('2d');

  // https://twitter.com/aemkei/status/1378106731386040322
  // https://twitter.com/CodigoFalado/status/1379450845599784962
  for (let x = 0; x < 256; x++) {
    for (let y = 0; y < 256; y++) {
      if (((x - 128) * 64) % (y - 128)) {
        ctx.fillStyle =
          y < 128
            ? `hsla(${y}, 100%, 50%, ${y / 256 / 2})`
            : `hsla(${y}, 100%, 50%, ${(256 - y) / 256 / 2})`;
        ctx.fillRect(
          x * 4 * (width / 1024),
          y * 4 * (height / 1024),
          4 * (width / 1024),
          4 * (height / 1024)
        );
      }
    }
  }

  root.style.setProperty('--bg-url', `url(${canvas.toDataURL()})`);
}

window.addEventListener('DOMContentLoaded', () => {
  draw();
});

window.addEventListener('resize', () => {
  draw();
});
我所做的修改主要有以下三点:
width、height、ctx.fillRect():原代码的画布宽高是固定的1024,为了让画布能够铺满背景,修改为了窗口宽高,并添加一个resize事件监听器监听窗口变化以重新生成相应宽高的画布。同时,修改ctx.fillRect()里的参数,分别乘以对应的比例以拉伸填满画布,实现完全 Responsive 背景。ctx.fillStyle:由hsl修改为hsla,实现背景上方和下方的渐变透明,以提升博客顶栏和页脚的可读性。--bg-url:通过canvas.toDataURL()将图片转成 dataURL 并以 CSS 变量的方式储存。这样做的好处就是实现了 JavaScript 与 HTML/CSS 的解耦,不需要在 HTML 中添加<canvas>然后在 JavaScript 中querySelector(),也不需要在 JavaScript 代码中通过document.querySelector().style.background来修改相应元素的 CSS,更为灵活和方便。同时,还支持通过 CSS 伪元素实现博客背景。
// We use pseudo-element instead of using
// `background-attachment: fixed` directly,
// since Safari on iOS doesn't support it.
// https://caniuse.com/background-attachment
html {
    &::before {
        content: ' ';
        position: fixed;
        width: 100%;
        height: 100%;
        background: var(--bg-url) no-repeat center/cover;
    }
}

// NO NEED FOR backdrop-filter
// Commented out because of too much CPU/GPU usage,
// though looks fantastic and smooth on iOS...
// body {
//     &::before {
//         content: ' ';
//         position: fixed;
//         width: 100%;
//         height: 100%;
//         backdrop-filter: saturate(180%) blur(1em);
//         -webkit-backdrop-filter: saturate(180%) blur(1em);
//     }
// }

// Blur
html {
    &::before {
        filter: blur(3em);
    }
}

// Add a overlay layer to improve readability
body {
    &::before {
        content: ' ';
        position: fixed;
        width: 100%;
        height: 100%;
        background-color: alpha(var(--color-bg), 0.2);
        transition: background-color $duration;
    }
}
注意上面是 SCSS 代码,且在我的环境是生产代码,在你的环境可能是伪代码。主要做的事情如注释所说:
用伪元素实现博客的固定背景,Safari on iOS 不支持
background-attachment: fixed。毛玻璃滤镜,直接在背景使用
filter而无需在背景前的元素使用backdrop-filter,因为我们要模糊的就是整个背景。添加一层蒙层以降低背景的亮度,提高文字的可读性。
考虑到博客文章的阅读体验,目前我的博客只在首页和关于页面和酷玩页面启用了该背景,并在关于页面和酷玩页面启用了毛玻璃滤镜,可直接前往相应页面体验感受(已停用),实现方式见 reuixiy/io-oi.me@b7c5b1a。